Photography is not something you can learn really quickly. Nor is it something you can ever really fully learn – it is a continual learning process.
But if you’re just starting with photography, then it can certainly help to be pointed in the right direction as to what skills you should try and learn first. And that’s what I hope to do in this article.
Learn basic composition
The first thing I would suggest learning is the basic compositional guidelines. Having technical mastery of your camera is useless if your photos just turn out bland and boring due to bad composition. But a well composed photo taken with your camera in full auto mode can still look great.
There are thousands of articles about composition available for free on the internet, videos on youtube, and whole books written about it. To start off with, just learn one compositional rule. Put it into practice, see where it works and when it doesn’t work.
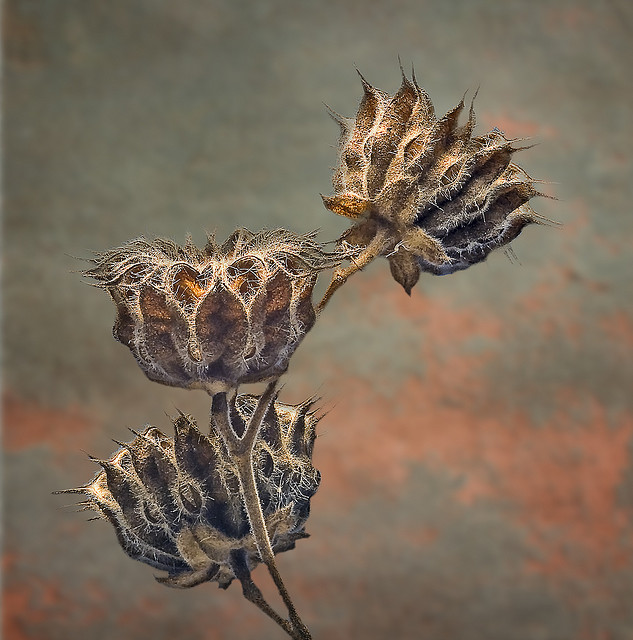
Weed Composition by Randen Pederson on Flickr (licensed CC-BY)
Then learn another rule and practice with that. Try using both the rules together. Actually practicing the rules you read about is the best way to ensure that you truly learn them and commit them to memory.
Learn how to use your camera
Using your camera in automatic mode can be very helpful when first starting out learning photography. Your camera takes care of all the technical stuff, while you can concentrate on the composition. However, after a while you find that having the camera do everything becomes quite limiting.
Your camera can’t know if you want a photo to be dark or bright. It doesn’t know if you want everything in the image in focus or just a small part. For creative photography, taking control of the camera settings yourself is often useful.
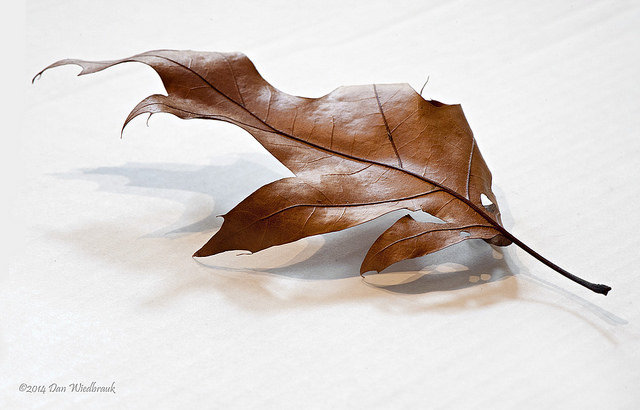
High Key Leaf 4 by Dan Wiedbrauk on Flickr (licensed CC-BY-ND)
This doesn’t necessarily mean taking full control and making each setting yourself manually, without the camera setting anything automatically. Rather, it means knowing the camera settings that are available to you and how to use them. Then, when you want to achieve a specific effect, you’ll know what combination of camera settings you need to choose, and which ones you can leave to the camera to decide.
The three main settings you should read up on are those that form the exposure triangle: Aperture, ISO, and Shutter speed. These settings not only control exposure but things such as how much of the image is in sharp focus, and whether fast motion appears sharp or blurred.
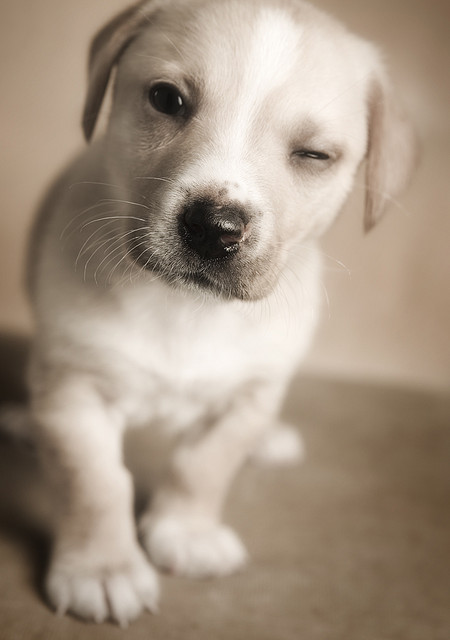
Wink ;o) by â…¯eagan on Flickr (licensed CC-BY)
Read up on these settings and how they interact together. Check your camera manual to see how to set them on your camera. And make sure you practice with them, changing each setting and seeing how the change effects the resulting image.
Learn lighting
Photography is all about capturing light, so understanding lighting is extremely important to crafting great photos. Whether it’s artificial light or natural light (or a combination of both) you need to understand how the light affects a scene, and how you can control it.
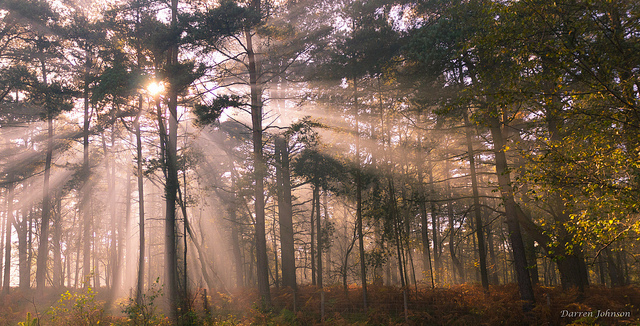
Light Bomb by Darren Johnson on Flickr (licensed CC-BY)
As with composition, there are thousands of articles and plenty of videos and books on photographic lighting to aid you in your understanding. The main three things to learn about are how the harshness or softness of light affects an image, how the direction of light is important, and how the color of light affects the mood.
Life in Light by Tuncay on Flickr (licensed CC-BY)
Again, try to learn one thing and put it into practice. Don’t just take the information you’re given as true – test it out. Is soft light really better for portraits than hard light? Take some photos with both types of lighting yourself so you can really see and understand the differences.
Learn from others
Study the work of photographers you really admire. What are they doing in their photos that is different to what you’re doing in your photos?
Something very useful you can do to this end is finding photographers that offer behind the scenes information on their shoots. Many photographers either post behind the scenes photos, or have a blog where they discuss how a shoot went, any problems they had, and how they overcame these problems.
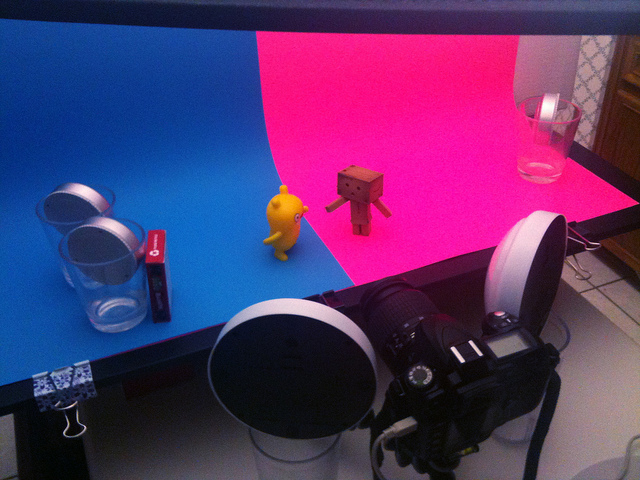
Jeero vs. Danbo Setup by JD Hancock on Flickr (licensed CC-BY)
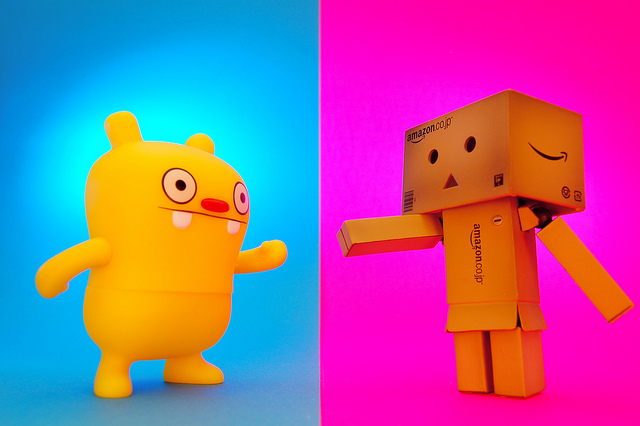
Jeero vs. Danbo (217/365) by JD Hancock on Flickr (licensed CC-BY)
A good knowledge of lighting can allow you to reverse-engineer how a photo was lit. But if the photographer has posted a photo showing the actual lighting setup used, written a blog post describing it, or in some cases, even produced a behind-the-scenes video,
then this makes the whole process much easier.
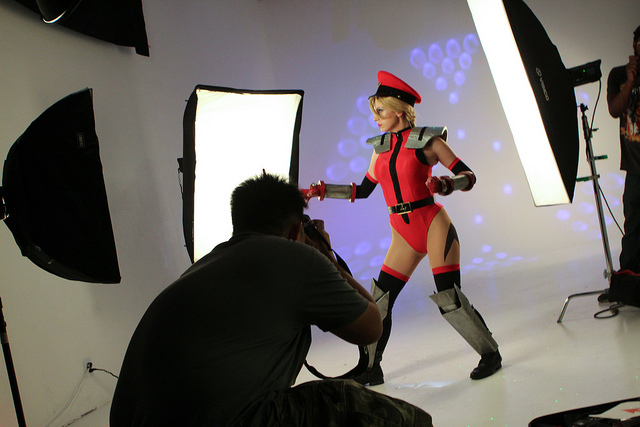
Cosplay Shoot BTS by Pat Loika on Flickr (licensed CC-BY)
And just like the previous points, when you’ve learnt how a photo was made, then try and put that into practice in your own photography. No, you don’t want to just blatantly copy someone else’s setup to get the exact same photo. But copying can help you learn more about the lighting and techniques used, and hopefully also help you to understand why they were used for that particular type of shot.
You might notice a common thread throughout all these points – learn and then put into practice what you just learnt. Without practice you stand little hope of improving your photography. Just like most other things in life, practice doesn’t quite make perfect, but it certainly does make you better. So what are you waiting for? Get your camera out and get practising!